Improving post-processing conditions…

Okay, this is where we are at now, but there’s always room for improvement.
This is the place I post-process my photos and make my own prints, which could be described as color critical work.
For color critical work there’s the “Viewing Conditions — for Graphic Technology and Photography” (ISO 3664:2000) standard. This standard consists of about 20 pages and it describes the optimal conditions when you are working with images on a computer.
For comparing prints and images on screen there is a different standard – “Graphic Technology — Displays for Color Proofing — Characteristics and Viewing Conditions” (ISO 12646). This standard is more for pre-press work, but in my case both standards have their place.
I’m not going to alter my apartment to exactly match these standards, since that would actually be quite impossible and of course time & money consuming process. Also I don’t think I would want to live here after that :D
Photography is still a hobby for me and I don’t think anyone who’s at this level has the need to follow the standards word for word.
If you want to read more about optimizing your post-processing room for color critical work, I’ll put up a few links below:
- Northlight Images has an excellent article about room lighting
- CreativePro.com goes even deeper with their article, part 1 and part 2 can be found here
The standards themselves are not free, but you can find almost all of the information online and in a more understandable form on top of that.
The biggest problems with this space are (in no particular order):
Photo 1 above:
- A big window behind my monitor (I only do my post-processing after dark at the moment).
- White walls (they should be Munsell gray number 8, but they will remain white since I’m only renting this apartment).
- Reflective table top.
- Oak parquet on the floor (a mat could work here, but for now it will have to do).

This is the opposite side, that’s right, I’m working in my kitchen :D
- The cabinet doors add up to a huge brown/yellow surface reflecting on to my monitor.
- Tungsten & fluorescent lights under the top cabinets.

I have this wire – halogen system in this room, which isn’t too good. All the lights have visibly different color temperatures and ideally the light should be indirect which this isn’t.


The peripherals on my desk have way too many bright blue leds shining in my eyes.
These are the things I’m going to address in the near future to make this room a better place for post-processing work.
This is what I have in mind:
- A gray darkening curtain for the window to cut out the daylight.
- Kitchen cabinet doors are already sanded and primed, waiting for the gray final paint.
- Replace kitchen lighting with daylight balanced lights.
- A larger indirect fluorescent light fixture above my work area with a daylight balanced lamp.
- Hide or disable the blue led light sources on my desk.
- More improvements as I figure them out…
I’ve already done some improvements which are:
- Dark wood shelves on the back wall (these used to be beech colored ones).
- Monitor hood (see more about that here).
In any case I don’t like to work in a messy environment, so I started with cleaned the room from top to bottom.
Next I decided to clean up the wiring behind the desk. Some of that work had already been done since I have a Roomba vacuum cleaner robot, which doesn’t play well with wires hanging on the floor.
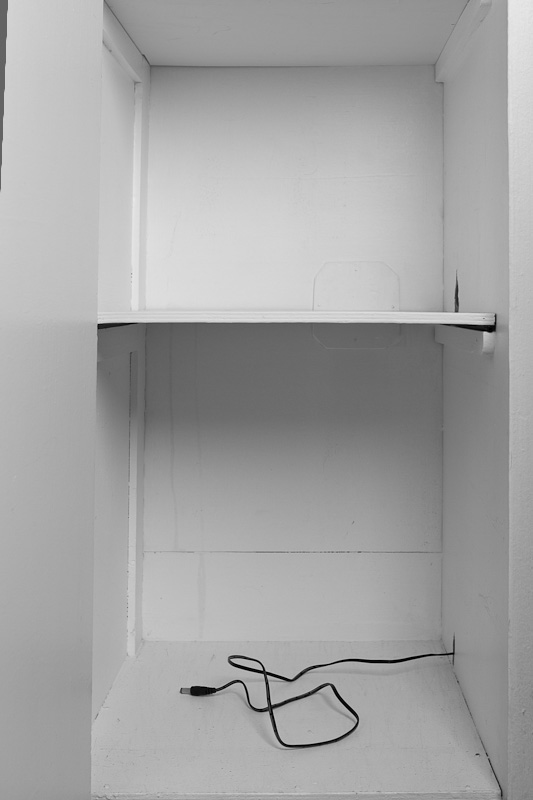
I have a small cabinet next to my desk, so I decided to hide a few things in there. I can sacrifice a bit of closet space for a cleaner look on the outside.
I drilled a couple of holes to the side of the cabinet for wires.

The lower hole is for a telephone wire (for ADSL modem) and also for an extension cord…

Which had way too long wire, so I shortened it. I also have APC SurgeArrest surge protectors for all my computer equipment.
An UPS would of course be better and I may get one at some point.

This is how the extension cord looks inside the cabinet. It’s a 6 outlet one, but with transformers like this, I can only fit three.

The upper level houses my ADSL modem and an external hard-drive.
In the future I may add a NAS (Network Attached Storage device) in there as well.
The reason for the external drive will be revealed in a future post about backing up and preserving your data.

This isn’t exactly improving the room, but since I needed an USB hub, I decided to go with this Roccat Apuri.
It’s actually a powered USB hub and also a device which keeps your mouse wire from dragging on the mouse mat.
I was quite skeptical at first since it’s targeted more for gamers, but it does help with post processing as well.
Another peripheral which I’m going to get at some point is the Wacom Intuos tablet. I think that will improve my post-processing since I’m using Photoshop more and more these days.
There’s surely more to come about this subject, so stay tuned.
Janne
[…] first order of business was to paint the kitchen cabinet doors. Check out the previous post to see how they looked […]
Improving post-processing conditions – Part II… at .::JAPhoto – Blog::.
5 Jul 11 at 19:00