DIY monitor hood…

This is actually a part of a bigger project, but I thought it deserved a DIY post of its own.
I’m always looking for ways to improve my skills and conditions I work in, so there will be a whole set of posts about improving my work area.
Getting a monitor hood is a part of that bigger process, but since I went DIY on this, I thought that I’d share it with you in more detail.
As usual it all starts with a bit of research. And as usual these kind of products are in short supply here in Finland…not a big surprise there.
I did manage to find one, but it was well over 100€ and it was only monitors up to 26 inches. Well I happen to have a 27″ monitor, so it was a no-go.
So the options were to order one from another country or do one yourself. I decided to do it myself since I wasn’t sure how much of a difference it would make anyway.
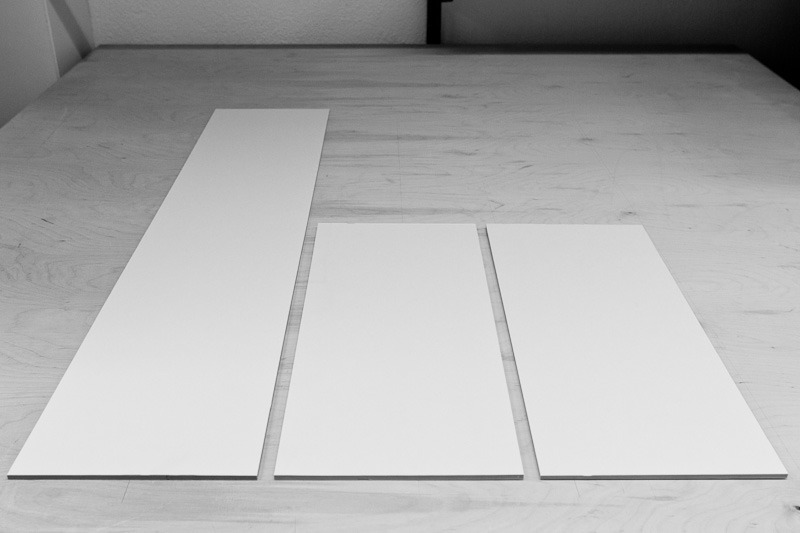
After taking measurements of my monitor I cut suitable pieces out of regular foam-core board which I also use under my prints.
I didn’t want the end result to look too ghetto, so I decided to make 45 degree edges that I could glue together in a jig.
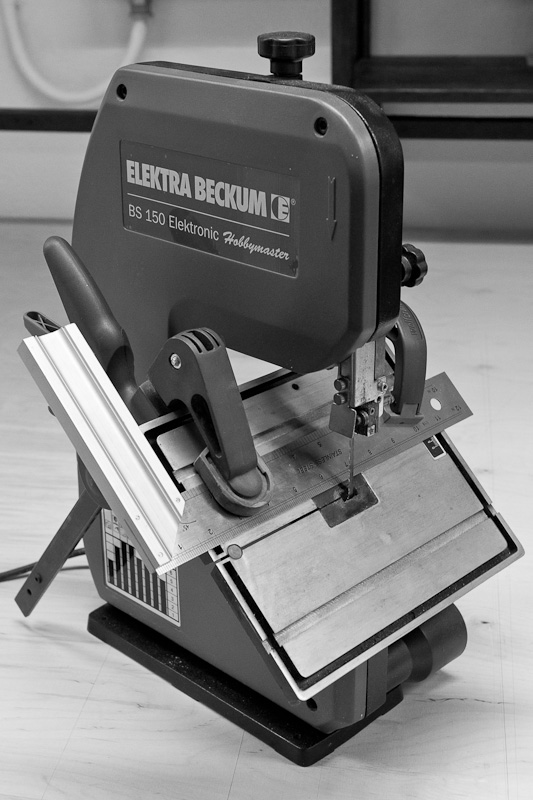
This small band-saw was the best way to do it (even though that looks ghetto as hell :D). I also tried a router, but that didn’t work too well with the foam-core board.
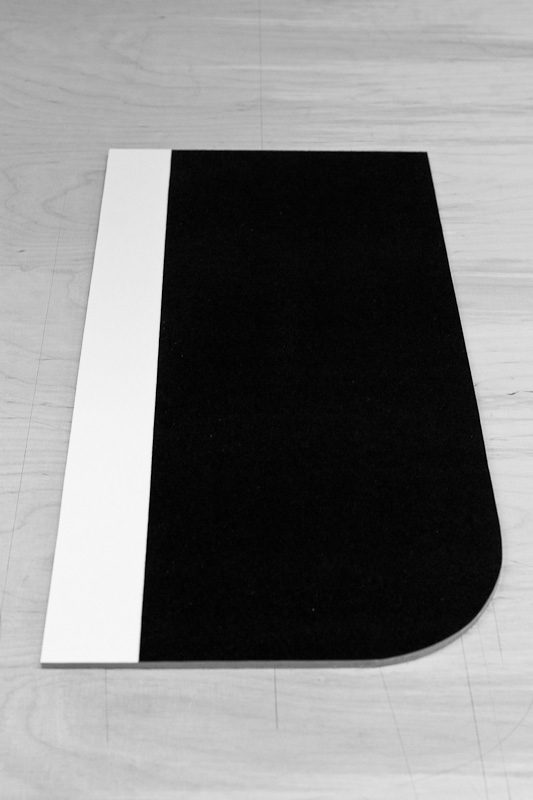
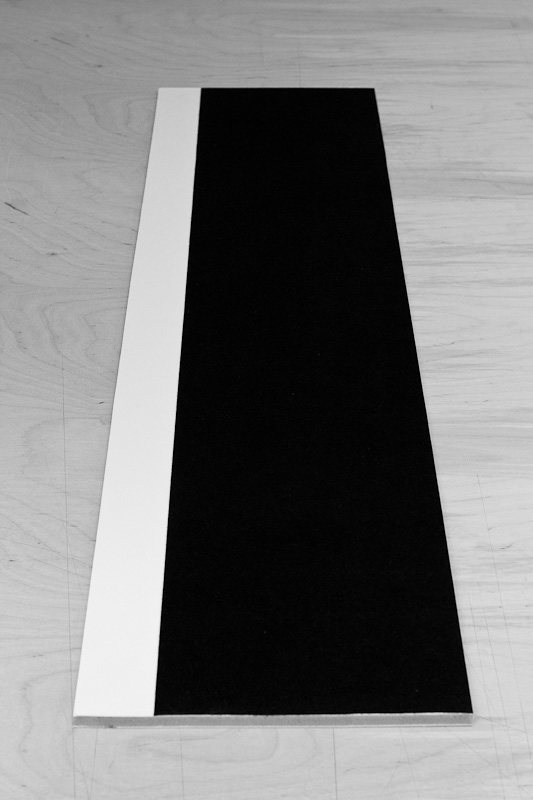
After sawing the angle and rounding the smaller parts I used some “suede” vinyl which should keep reflections to a minimum on the inside.

As you can see here, it really “sucks” in all the light.
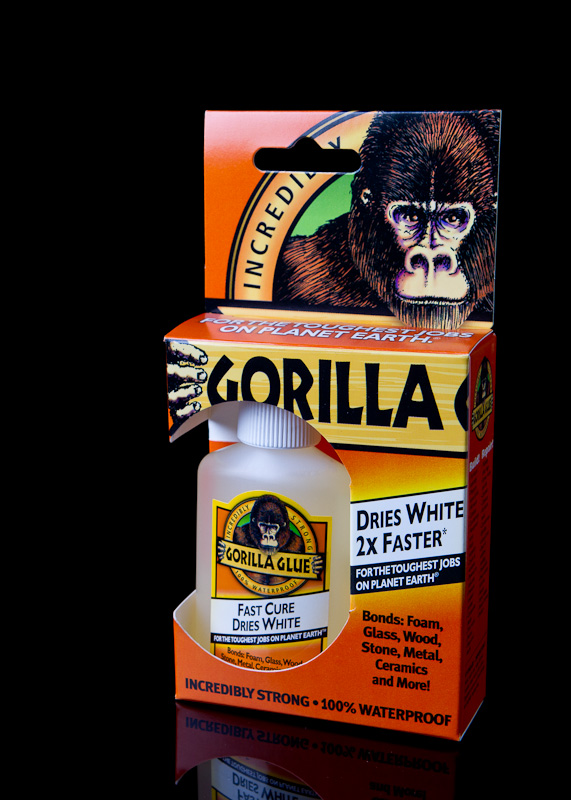
Don’t know if this Gorilla glue was the best option to use here since it expands quite a bit when drying, but at least it made a bond that I’d imagine will be really hard to break.
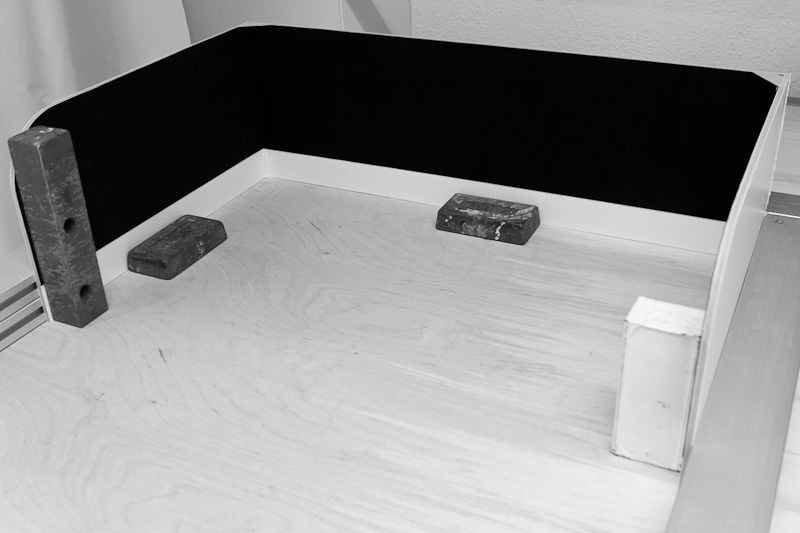
I made up a gluing jig using aluminum profile to ensure precise 90 degree angles.
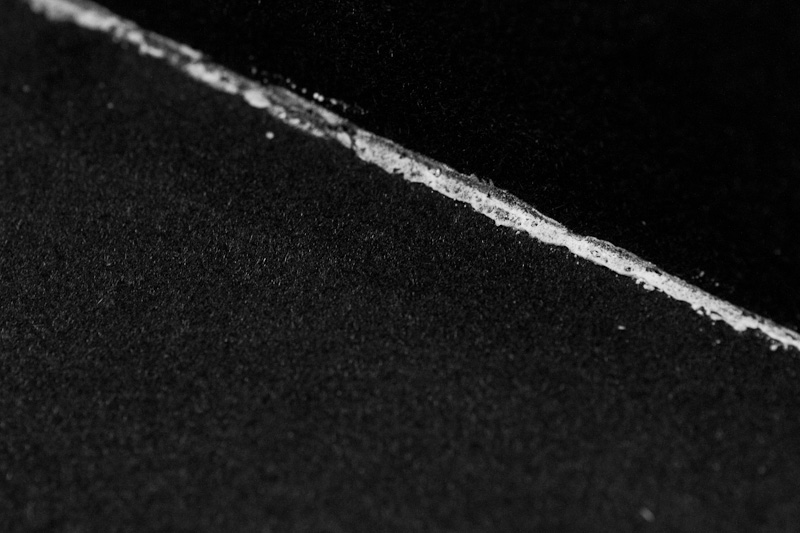
This is what I meant by the glue expanding.
Not a huge problem, but I had the inside vinyl already in place, so I wasn’t too happy about that.
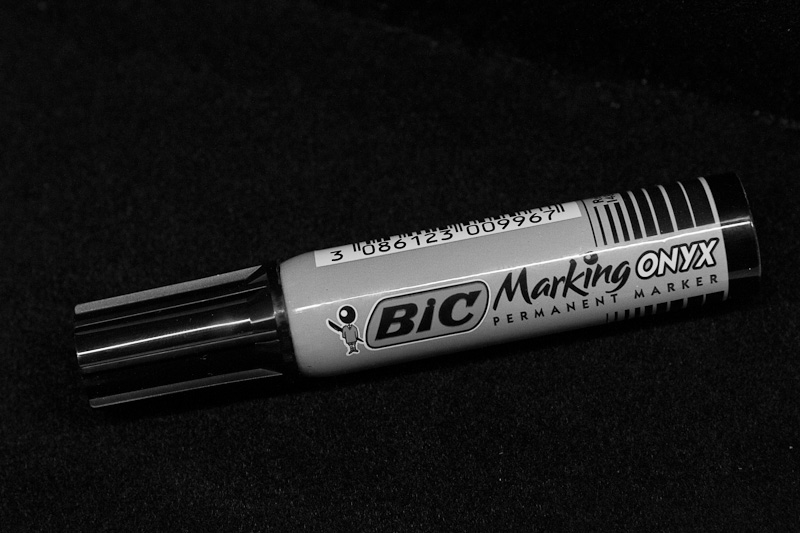
A big black marker to the rescue then :D I cleaned the seams up as well as I could and hit the rest with this marker.
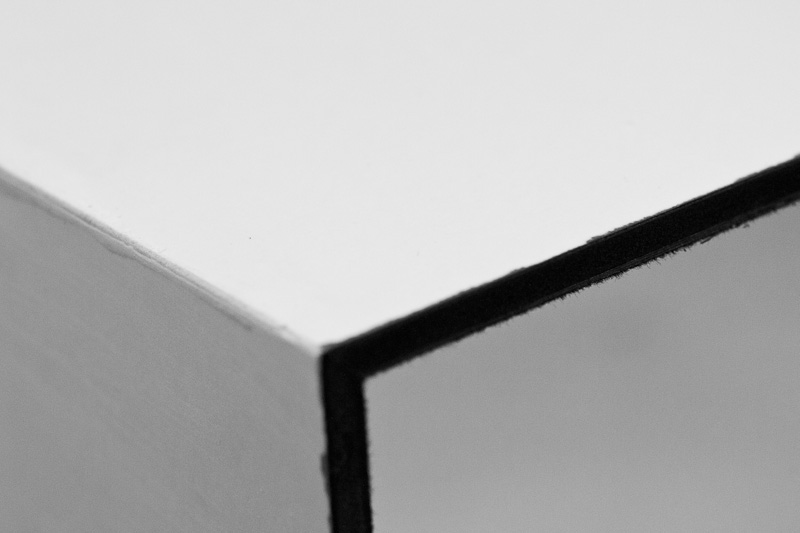
I also stained the edges of the hood black with the marker.
I don’t have photos about it, but the outside was covered with mat black vinyl.
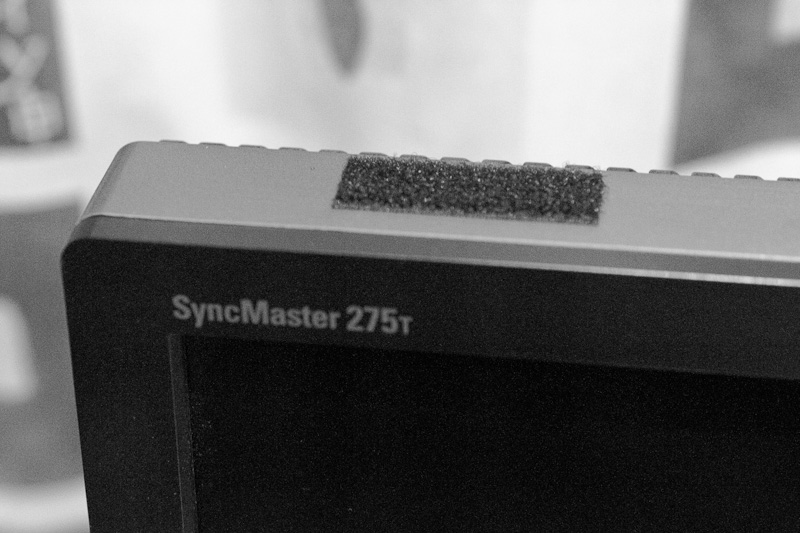
After that I took the hood home and decided that the best way to attach the hood to the monitor was with 5 strips of velcro.
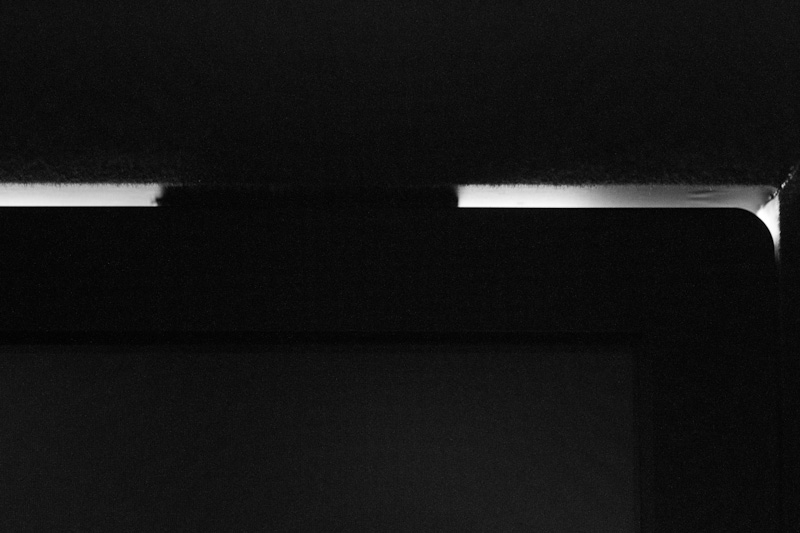
It presented a new problem since the velcro raised the hood up and I have a window behind my monitor the light could leak through really badly.
I added a few strips of window insulation tape to correct this problem and it was also stained black with a marker.
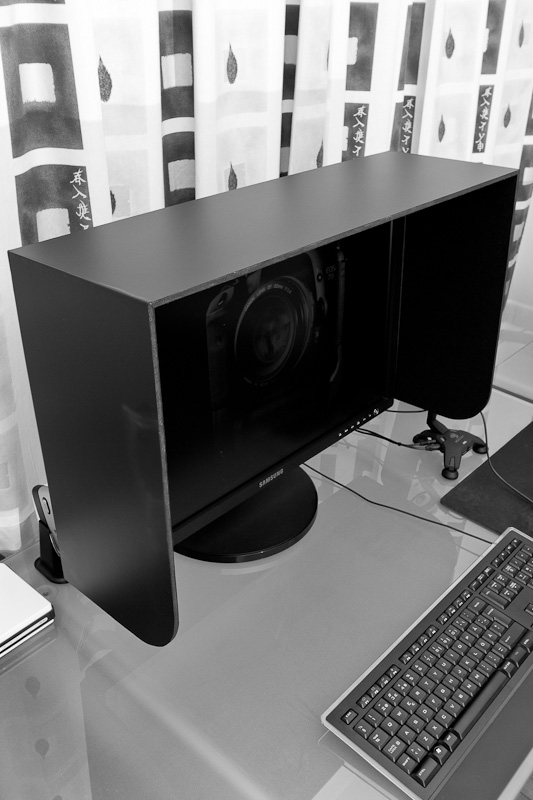
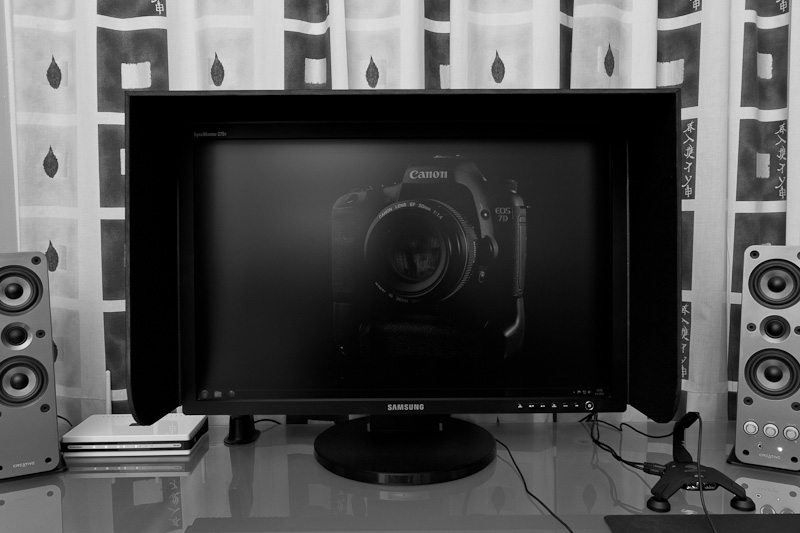
So there it is. I must say that I’m really happy with the way this turned out.
No light leaking and it really did make a huge improvement especially with darker shades.
I can now see shades that weren’t there before, so I think this was a successful DIY project.
In the future I may make a MkII of this hood with a hole on top for the monitor calibrator, but for now it’ll have to do.
More to come…
Janne
[…] Monitor hood (see more about that here). […]
Improving post-processing conditions… | .::JAPhoto – Blog::.
5 Apr 11 at 17:15
This looks pretty good. I agree making the hole at the top would help. Do you think a black foam-core could potentially work, or would that provide too much glare? Obviously I can go to a store and check this out, just wondering if you had a chance to try this out.
Great DIY project!
Steve
25 Aug 11 at 08:22
Hey Steve and thanks for the comment.
Yes, you’re right about making a hole on top for the calibrator, especially if you calibrate your monitor often. I do it about once a month, so I can live with this solution, but there might be a MkII in the works :)
I certainly would have used black foam-core, but it’s not available from Finland as far as I know, so I had to improvise. Since I have never seen or handled black foam-core before, I don’t know how it’ll work for the inside. But it’s safe to say that if it reflects light even a bit, you’ll probably want to cover it with something that doesn’t. The vinyl I used has worked really well so maybe that’s something to look into.
Janne
japhoto
25 Aug 11 at 13:21