Studio build – part II…

So this is where we were at a few moments ago…
…and this…
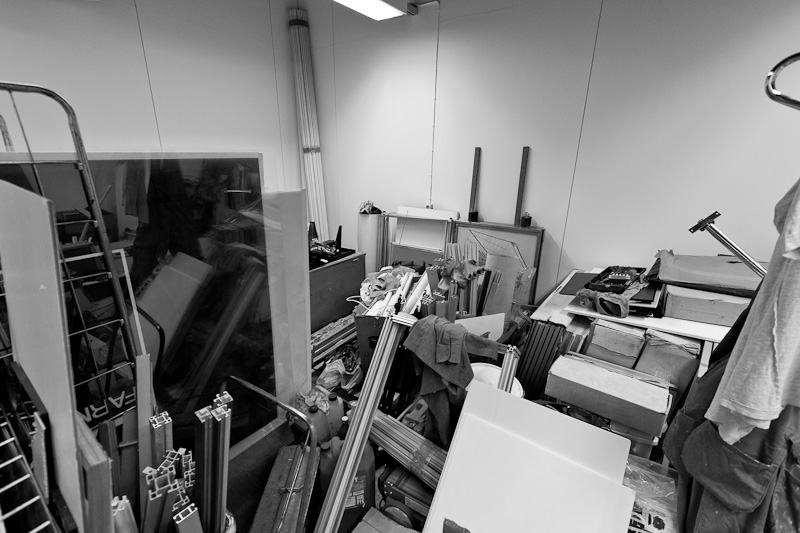
…and this…
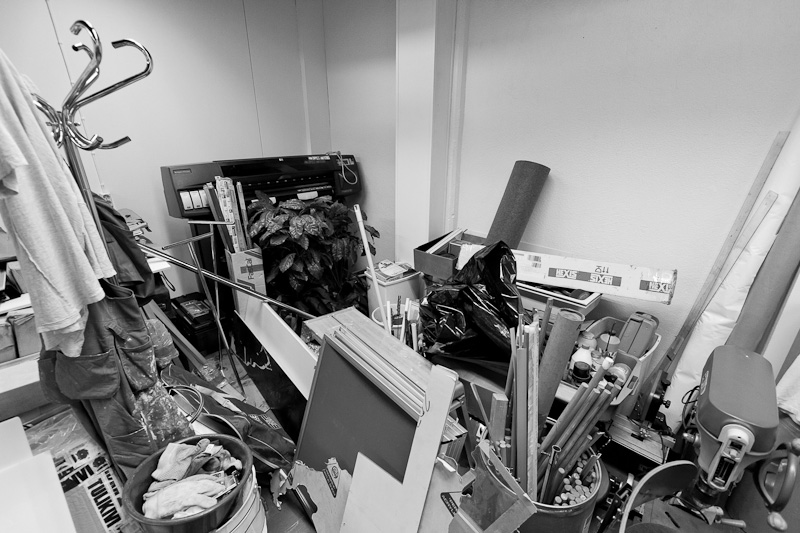
…so a lot of stuff to deal with. At this point I wondered if I would ever be able to turn this space into any kind of functioning studio.
The first thing we tackled was a rack for the different boards we had.
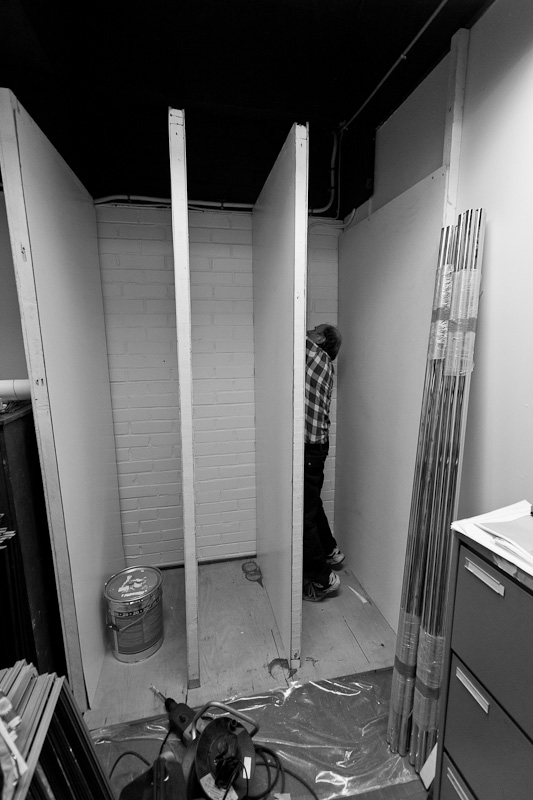
You can see my dad working on the rack here.
I don’t have any shots of the finished product, but it’s painted white now and functioning just fine.
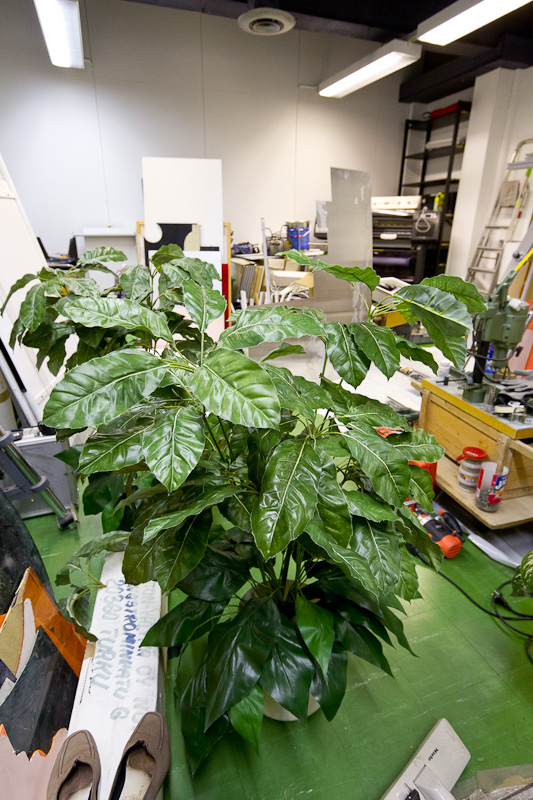
I had to do something else besides organizing the stuff, so I decided to wash and clean one of the silk plants we have there :)
Well, since this doesn’t have too much to do with photography and also to make a long story a bit shorter I’ll skip to the point where everything is (approximately) in their own place.
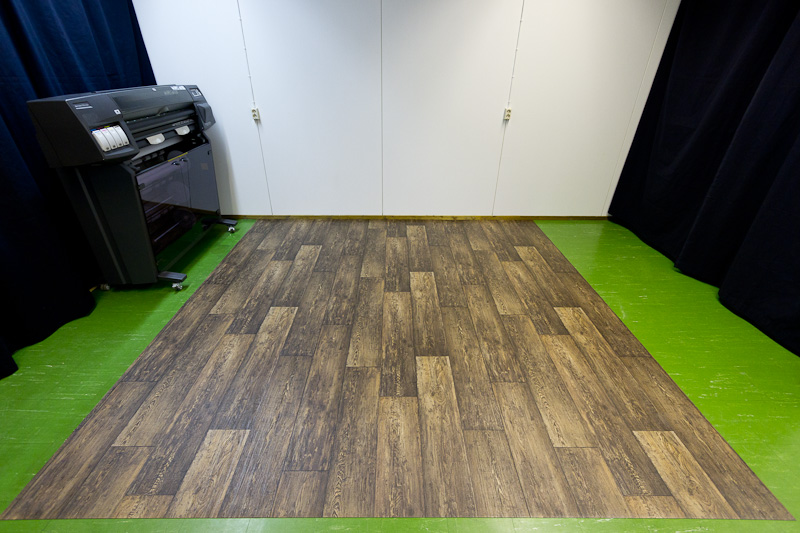
I put this photo in color so you can see the mat I got for the shooting area. To get some kind of an idea of the space, the measurements of the mat are 3 x 3 meters.
The reason for not going with a laminate flooring is that I couldn’t find the material I wanted and if I did the laminate was really expensive.
So the mat was cheaper and I can also abuse it with water if I have to. Laminate or the linoleum flooring underneath the mat don’t really play well with water, so for now the mat will have to do.
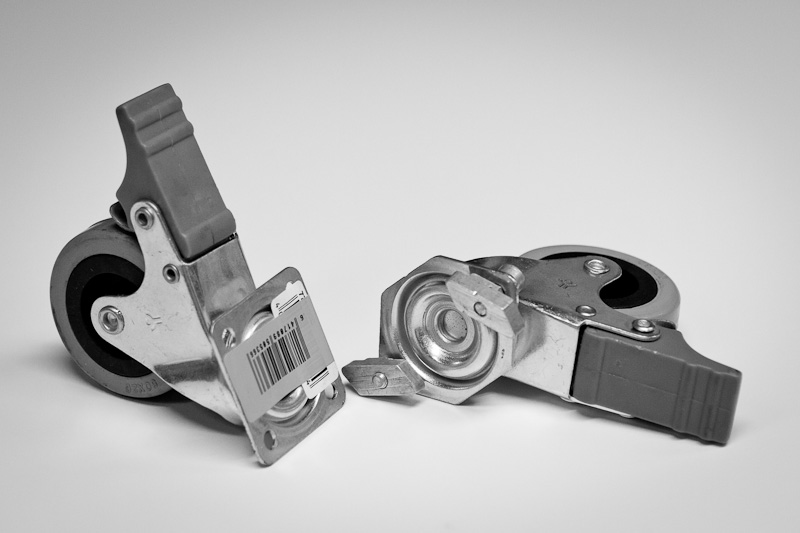
Next up was the stand for the background paper.
I bought these locking wheels and modified them a bit. Notice the two missing corners on the finished one.

Here’s what we came up with. We used aluminum profile with locking ends to put together this rack for the background paper rolls.
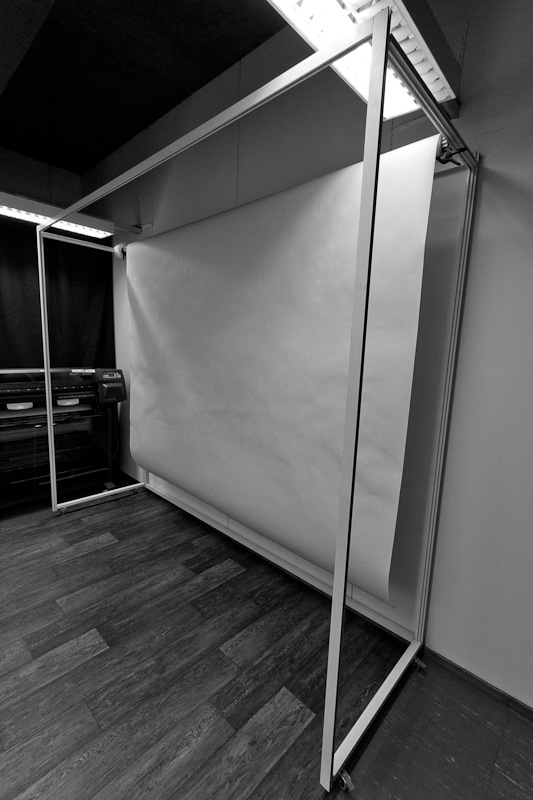

Even though it is quite large, you can pretty easily to push it around the studio.
The size is almost a problem as you can see in the next two photos…
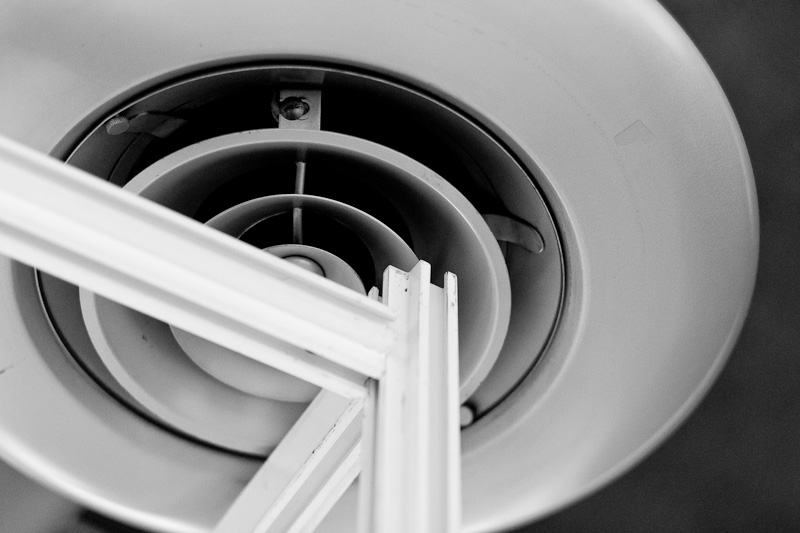
…remember the air vents from the first post…
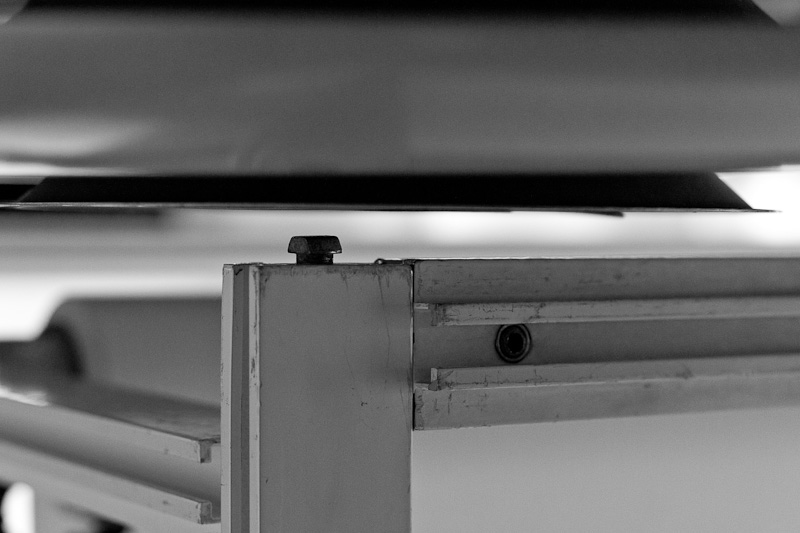
…a pretty close call here :D

This is the “locking” mechanism for the roll, pretty ghetto, but it works.
The stand is so large that I could probably put 4-5 rolls of paper on it just by adding profiles as needed.
For now I’m content with the Lastolite superwhite, but maybe in the future I’ll go with a gray and a black one as well.

These tend to have many names, V-flats, bookends, gobos… Call them what you will, but I’d say that they are an essential addition to a studio.

The beauty of these V-flats is the middle profile which is hinged.
The downside is that they are quite large and heavy, so maybe the MKII will address those issues :)
This is the end of part II, but I still have few things to show from the studio, so I’d expect at least a part III.
Stay tuned…
Janne