Serve me up – Part II…
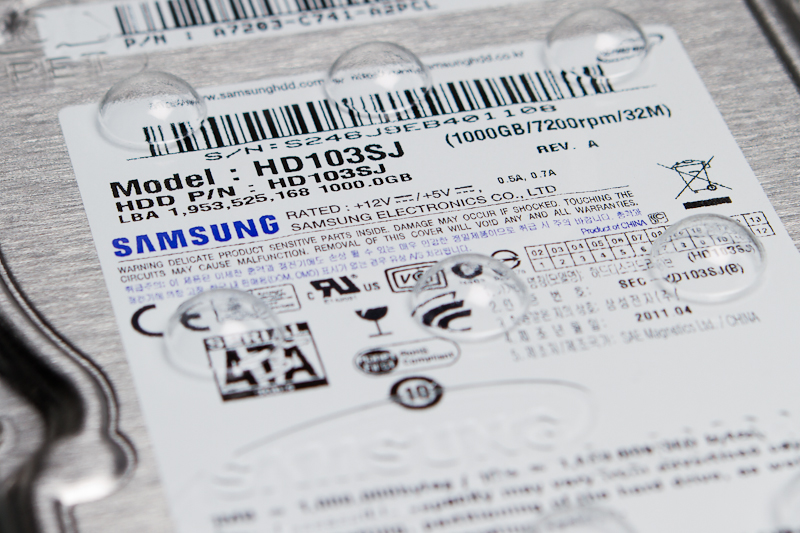
Well maybe this should be called part 1.5 since it covers only the assembly stages of the second server.
So the first server was just a test to see how well a Linux based server fits my needs and it was done with old and pretty much discarded components.
It turned out that I really liked having a fast file server around, so I decided to jump in with both feet and turn my Windows “server” into a proper Linux server as well.
I say fast because I’ve had a gigabit switch for a long time and I’ve seen transfer rates up to 30-35MB/s between two computers both running Windows 7 (that’s really not good).
Even the first server with ancient hardware and no fiddling around with network settings on the Linux side gave me over 100MB/s speeds from time to time and it pretty much stays above 75MB/s, so that’s 2-3 times more than before.
This actually got me interested in networking stuff as well, so in the interest of improving network speeds, I bought these:
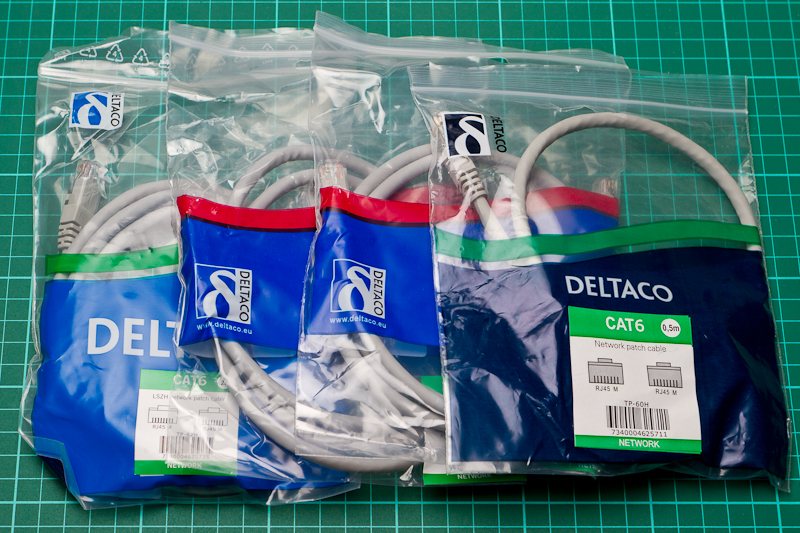
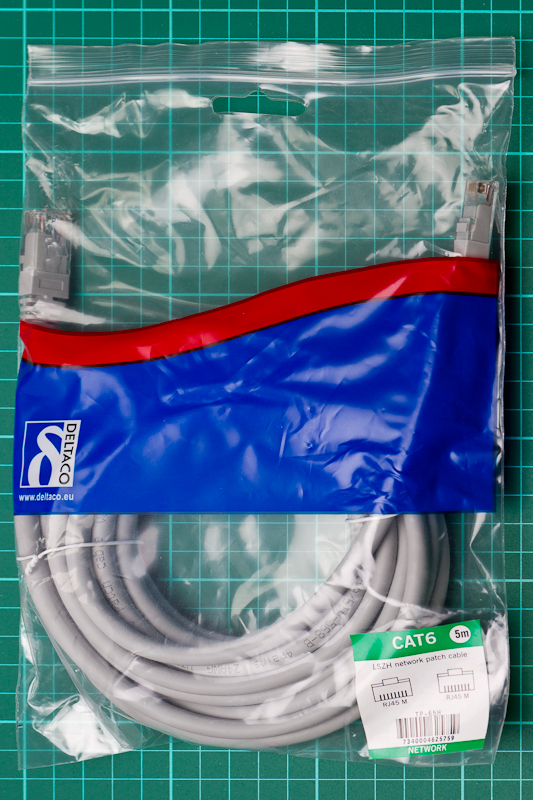
Since pretty much every ethernet cable on my system is different and ranging from Cat 5e to Cat 6, I decided to re-do the whole wiring between my computers.
I think I might have to get a few cables more and also an 8-port gigabit switch, since my current switch has only 4 ports. It’s not normally a problem in a 3-4 computer network, but I recently discovered that with Linux you can do something called NIC bonding (aka. trunking if you know your network stuff).
It’s basically combining two or more ethernet adapters in the computer to work as one. This is pretty common in corporate networks, but there it’s more often used to improve availability so that if a wire goes bad or a switch malfunctions, the server is still accessible through the other adapter.
It can also be used to more or less double your transfer speeds, which in my case is way more interesting than improved availability. When I get around testing the system I’ll write more about it.
On with the second server build…
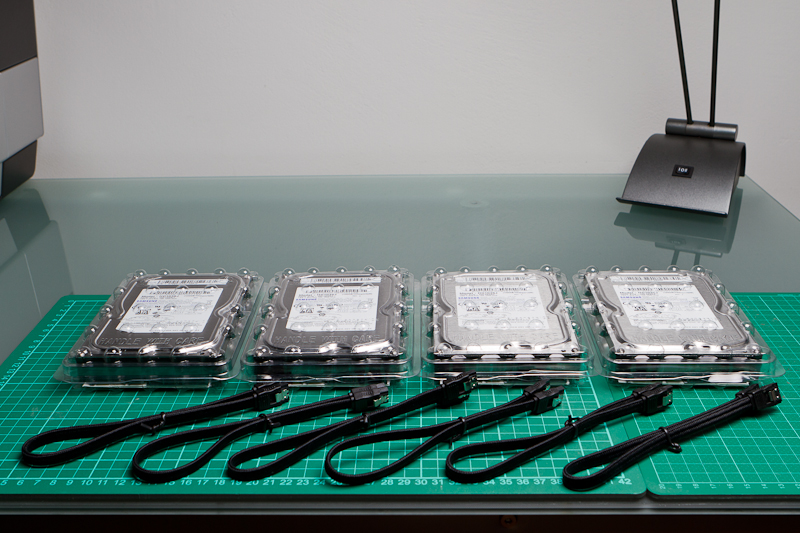
With this one I had to spend a bit of money for hard drives and a few cables. Those are not adding up though though, six cables and only four hard drives, what’s going on there?
Well, I already had two similar drives from before, but they are in use at the moment, so I’m going to build a RAID-6 array with four 1TB disks at first (that adds up to a bit under 2TB of storage space) and then expand the array when I can free up the two remaining drives. So in total this server will have six 1TB drives in an RAID-6 array, which will give me about 4TB of space and secured so that two drives can fail simultaneously before any data is lost.
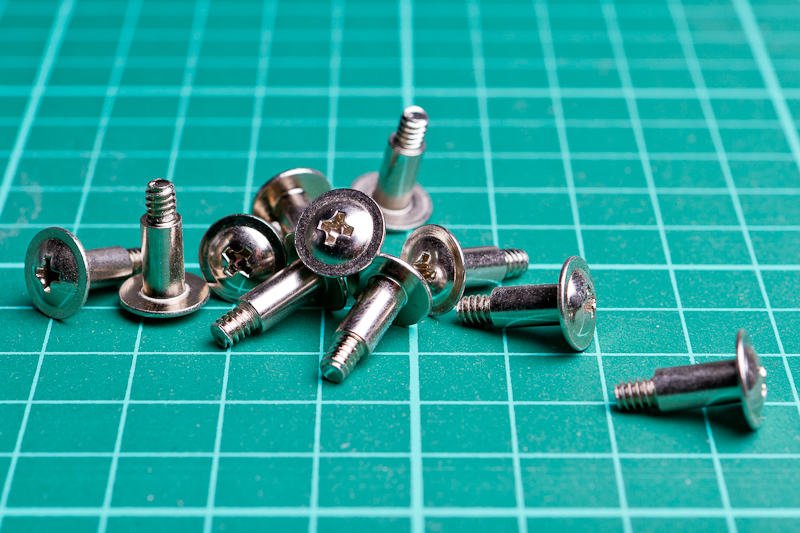
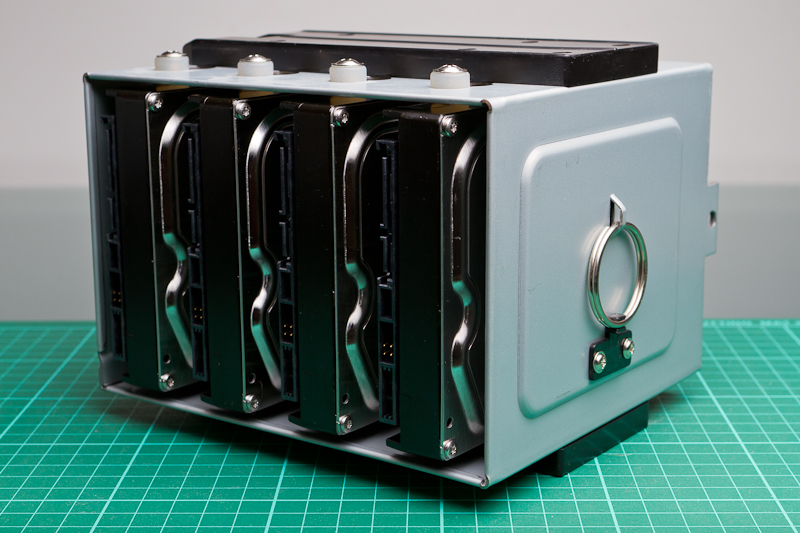
Add some screws and the lower hard-drive rack from the case and there we go, all mounted and ready to pop back into the case.
There’s a photo of the screws because those belong into an Antec Sonata III instead of the case I’m using, the Antec P182B. The original screws don’t have that thicker part, so they can be screwed really deep, which is not good for the silicone grommets, so these work much better.
On top of that I of course made a custom SATA-power cable for the drives to keep things neat.
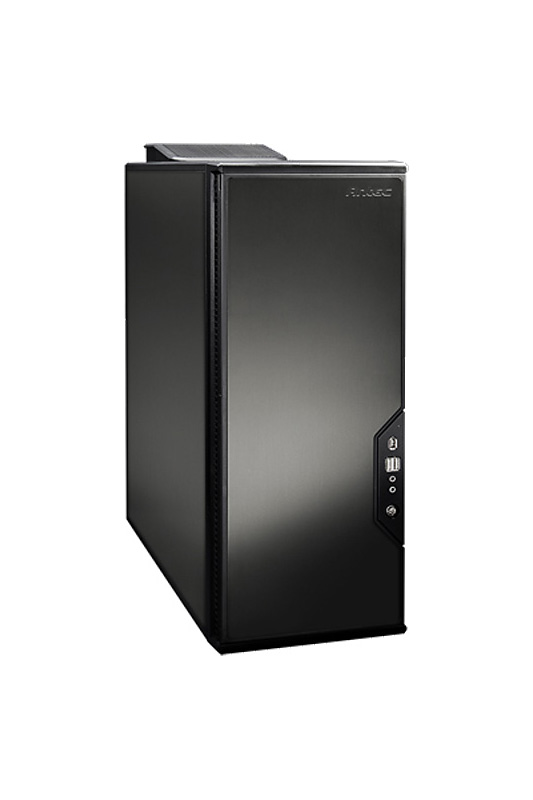
Almost forgot about the case I’m putting all this in, so here it is, an Antec P182B.
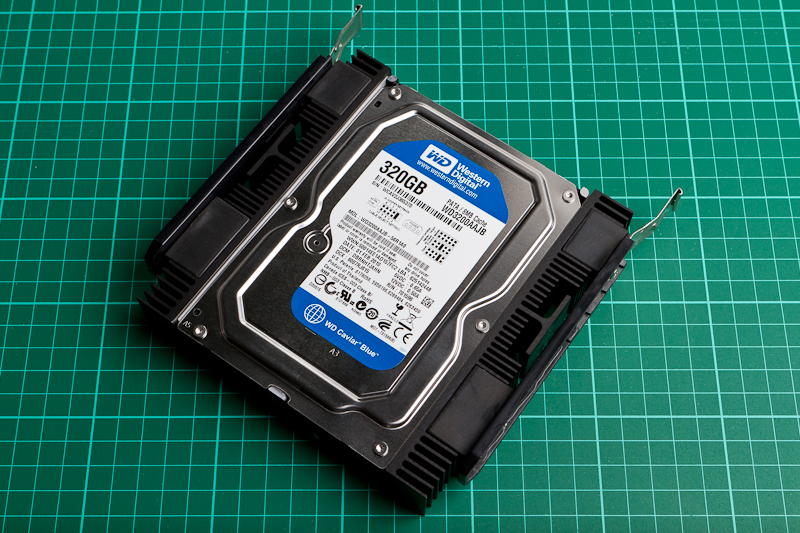
Since the motherboard I’m using has only six SATA-ports and I’m using all of them for my RAID-array, I must use an older style IDE/PATA drive for the operating system.
I really don’t like IDE drives mainly because of the bulky cables needed for them, but here it’s OK and actually necessary to get this server working. It’s also a bit of a contraption, because I wanted to put the hard drive into a 5.25″ place, hence the Nexus DiskTwin cooler/silencer system + Antec drive rails.
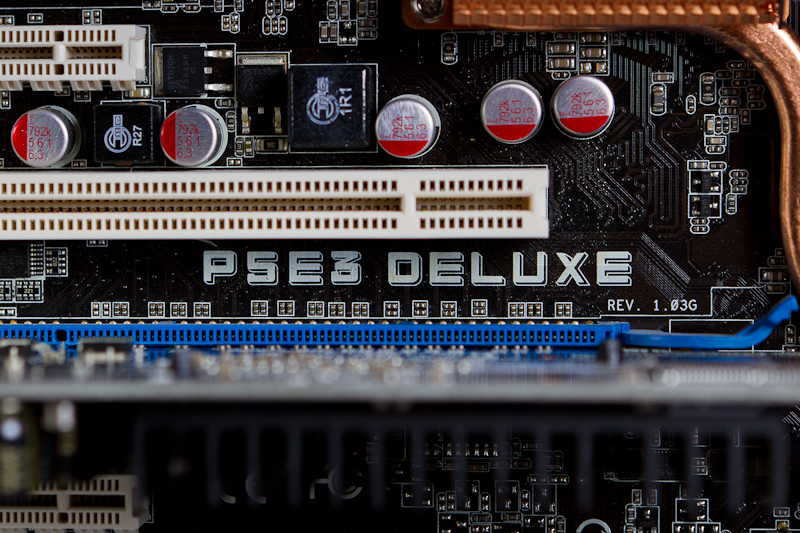
The specs for this machine are as follows:
- Case: Antec P182B
- Processor: Intel Core 2 Quad Q6600
- Motherboard: Asus P5E3 Deluxe
- RAM: Team Group Elite 4GB (2x2GB) DDR3 1333MHz
- PSU: Cougar CM Power 550W modular
- GFX: nVidia GeForce 6200LE
- Hard drives: 1x320GB Western Digital WD3200AAJB (OS) + 6x1TB Samsung HD103SJ (RAID6)
- ODD: LG DVD-RW burner (IDE)
- CPU cooler: Noctua NH-U9B
- Case fans: 4x Noctua NF-S12-1200
- OS: Ubuntu Server 10.04 LTS
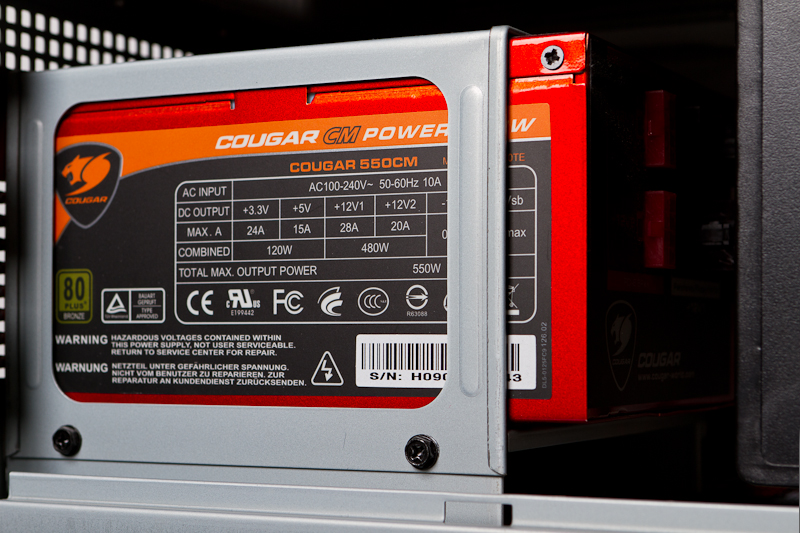
The PSU is installed in the case and secured with the provided “bracket” to minimize the noise levels.
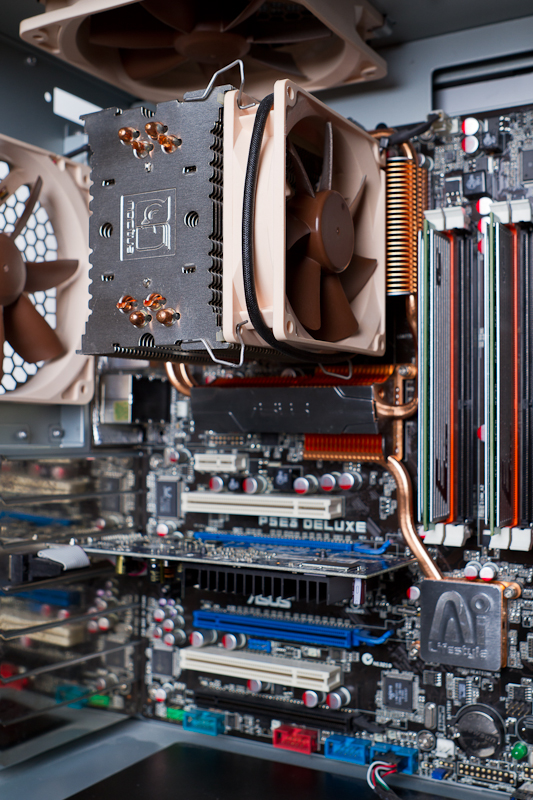
This is from the final stages of the assembly, so the motherboard and the fans are in their places.
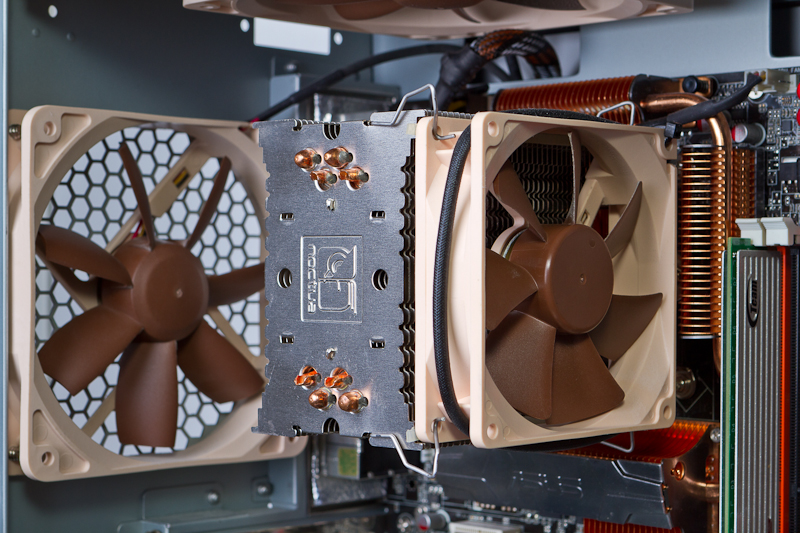
I just had fun photographing the case, so this is a closer look at the upper part of the case.
Next up will be installing the operating system, formatting the new drives and creating the array, but more on that at a later time, stay tuned…
Janne